10 Creative Shiplap Designs to Enhance Your Bedroom Decor
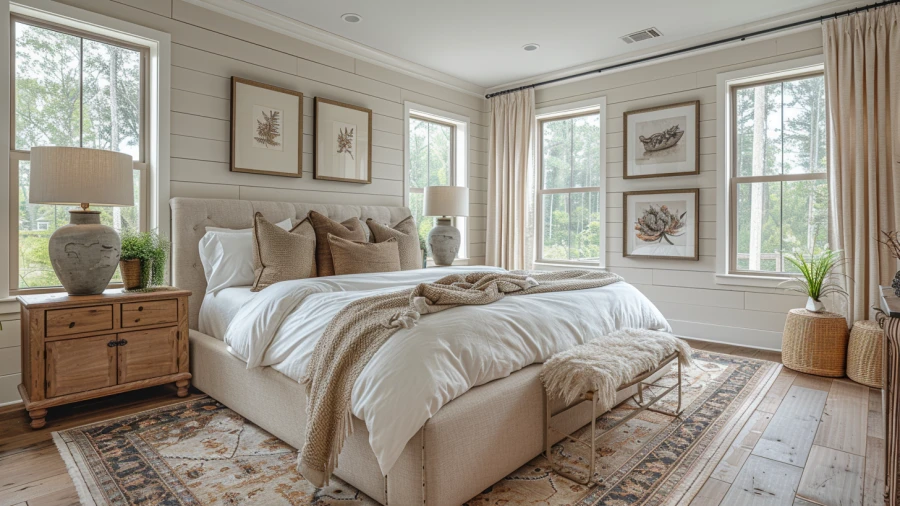
Discover ten distinctive shiplap design concepts curated for bedrooms, promising to imbue your sanctuary with unparalleled warmth, personality, and timeless style.
by Niranjani
Updated Feb 17, 2024
On This Page
Transforming your bedroom into a cozy sanctuary often involves paying attention to the finer details of decor, and shiplap offers a timeless charm that can elevate your space to new heights. In this guide, we present ten innovative shiplap design ideas tailored specifically for bedrooms, each crafted to infuse warmth, character, and style into your personal haven.
Whether you're aiming for a rustic farmhouse aesthetic, a coastal-inspired retreat, or a modern minimalist vibe, these creative shiplap designs promise to enhance the ambiance of your bedroom, creating a serene atmosphere where you can unwind and rejuvenate. From accent walls that serve as focal points to ceiling treatments that add dimension and interest, shiplap offers versatile options for refreshing your bedroom decor.
Explore how the classic appeal of shiplap can be reimagined through unique patterns, finishes, and applications, allowing you to customize your space to reflect your individual taste and personality. Whether you're a seasoned DIY enthusiast or seeking professional inspiration, these shiplap ideas are sure to spark your creativity and help you transform your bedroom into a stylish retreat that beckons relaxation and tranquility.
1. Classic Horizontal Shiplap Wall
To achieve the classic horizontal shiplap wall, begin by measuring the dimensions of the wall you wish to cover and selecting high-quality shiplap boards. Ensure the boards are properly treated for moisture resistance if your bedroom tends to be humid. Once you've acquired the materials, carefully mark the studs on the wall and begin installing the shiplap boards horizontally, starting from the bottom and working your way up.
Use a level to ensure each board is straight and evenly spaced, and use a nail gun or screws to secure them to the wall. Once all the boards are in place, fill any gaps between the boards with wood filler, sand the surface smooth, and finish with a coat of paint or stain to match your bedroom decor.
2. Vertical Shiplap Accent Wall
For a vertical shiplap accent wall, start by measuring and marking the desired height of the wall and locating the studs. Then, cut the shiplap boards to the appropriate length, ensuring they're long enough to cover the height of the wall. Begin installing the boards vertically, using a level to ensure they're straight. Leave a small gap between each board for expansion and contraction, and secure them to the wall using a nail gun or screws.
Once all the boards are installed, fill any gaps with wood filler, sand the surface smooth, and finish with paint or stain. This design choice adds a sense of height and drama to your bedroom while maintaining the cozy charm of shiplap.
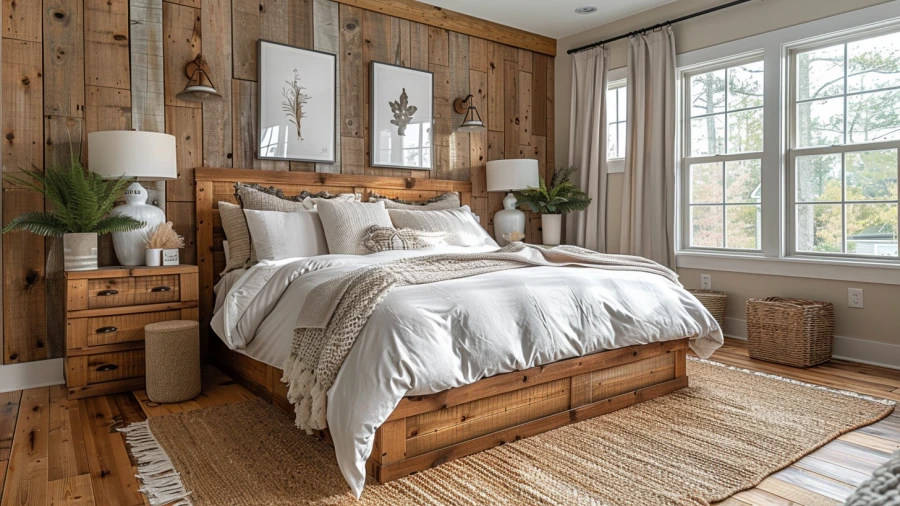
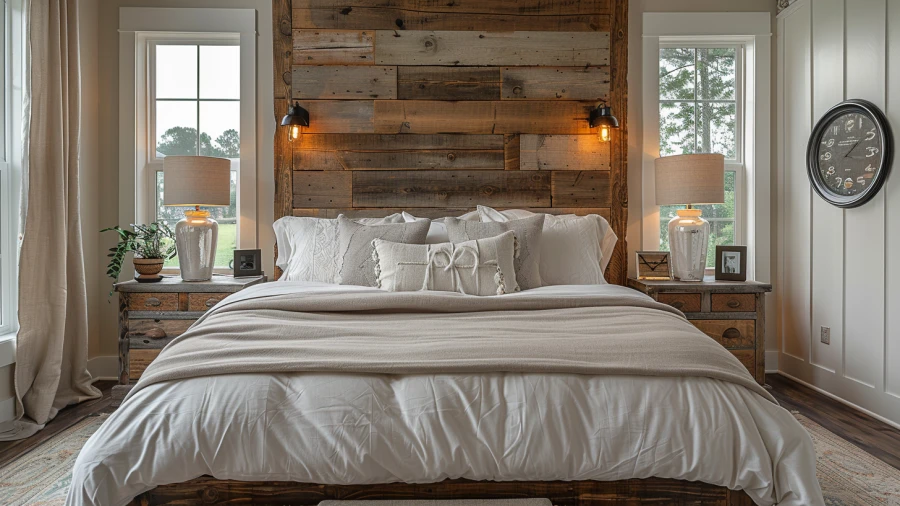
3. Shiplap Headboard
Crafting a shiplap headboard requires careful planning and execution. Begin by measuring the width of your bed and determining the desired height of the headboard. Cut shiplap boards to the appropriate dimensions, ensuring they're wide enough to cover the width of the bed and tall enough to create a visually striking headboard. Assemble the boards using wood glue and nails or screws, reinforcing the structure with additional support if needed.
Once the headboard frame is constructed, attach it securely to the wall or to the bed frame itself, ensuring it's level and stable. For added flair, consider incorporating decorative elements such as crown molding or inset panels. Finish by sanding the surface smooth, filling any gaps with wood filler, and painting or staining the headboard to complement your bedroom decor.
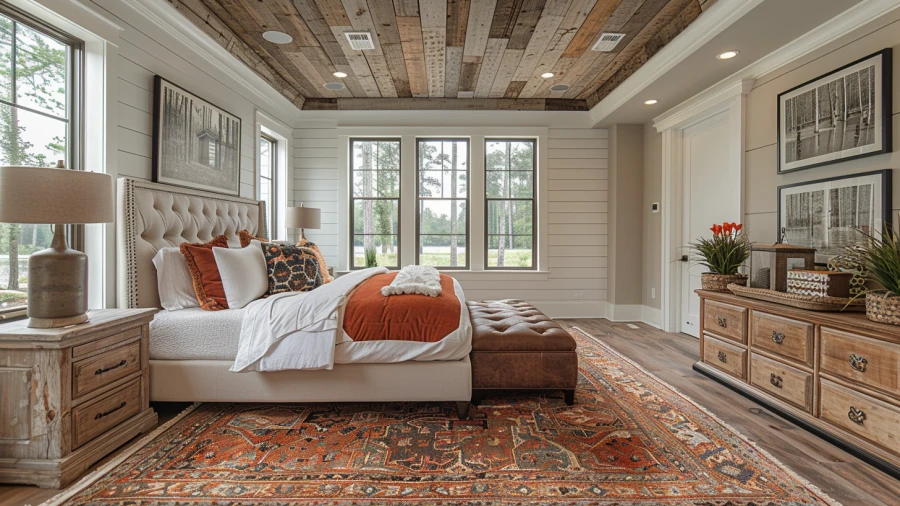
4. Shiplap Ceiling Treatment
Transforming your bedroom ceiling with shiplap requires careful planning and attention to detail. Begin by measuring the dimensions of the ceiling and determining the amount of shiplap needed. Cut the shiplap boards to size, ensuring they fit snugly against the ceiling joists. Install the boards using a nail gun or screws, starting from one end of the ceiling and working your way across in rows.
Be sure to leave a small gap between each board for expansion and contraction. Once all the boards are installed, fill any gaps with wood filler, sand the surface smooth, and finish with paint or stain. This design choice adds warmth and character to your bedroom while creating a cozy, inviting atmosphere.
5. Shiplap Wainscoting
Installing shiplap wainscoting involves meticulous planning to achieve a seamless and polished look. Begin by measuring the height of the wainscoting and marking the wall accordingly. Cut the shiplap boards to the desired height, ensuring they're evenly sized for a uniform appearance. Install the boards horizontally along the lower portion of the wall, starting from one end and working your way across.
Use a level to ensure the boards are straight and evenly spaced, securing them to the wall with nails or screws. Once all the boards are in place, fill any gaps with wood filler, sand the surface smooth, and finish with paint or stain to match your bedroom decor. Shiplap wainscoting adds texture and visual interest to your bedroom walls while protecting them from wear and tear.
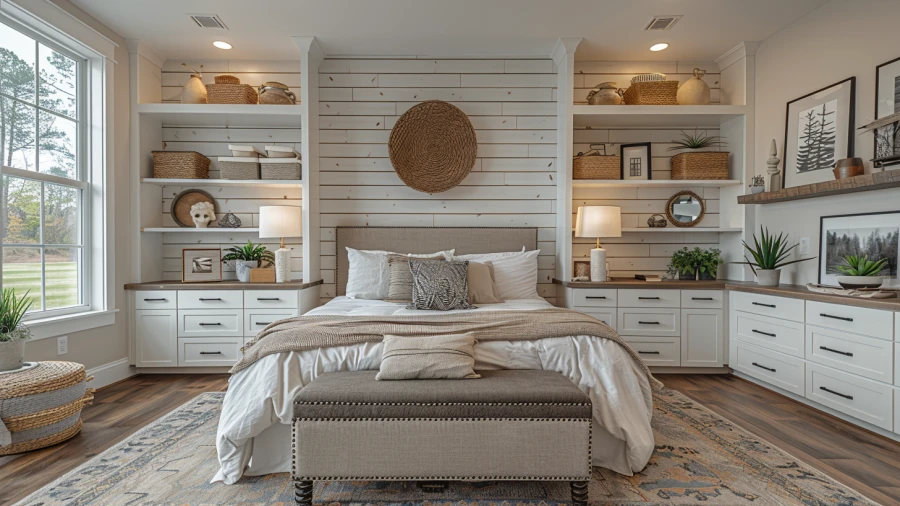
6. Shiplap Built-In Shelving
Incorporating shiplap into built-in shelving units requires careful planning to ensure functionality and aesthetic appeal. Begin by designing the shelving layout, taking into account the dimensions of the space and your storage needs. Cut the shiplap boards to size for the backing of the shelves, ensuring they fit snugly within the shelving frame. Install the shiplap backing using nails or screws, making sure it's securely attached to the shelving unit.
For added visual interest, consider varying the direction of the shiplap boards or incorporating decorative trim. Once the shelving unit is assembled, fill any gaps with wood filler, sand the surface smooth, and finish with paint or stain to complement your bedroom decor. Shiplap built-in shelving adds rustic charm and practical storage to your bedroom, creating a cohesive and stylish look.
7. Mixed Media Shiplap
Combining shiplap with other materials opens up endless possibilities for creativity and customization in your bedroom. Begin by selecting complementary materials such as brick or tile to pair with your shiplap. Determine the layout and design of the feature wall or fireplace surround, taking into account the proportions and aesthetics of your bedroom. Install the shiplap and additional materials according to your chosen design, ensuring they are securely attached to the wall or surface.
Consider alternating shiplap panels with brick or tile for a dynamic look, or creating geometric patterns for added visual interest. Once the installation is complete, fill any gaps with appropriate filler, sand the surface smooth, and finish with paint or stain as desired. Mixed media shiplap adds texture, depth, and personality to your bedroom decor, making a bold statement that reflects your unique style.
8. Shiplap Closet Doors
Shiplap closet doors in a bedroom can significantly enhance the room's aesthetic appeal and add a cozy, rustic charm that is both timeless and trendy. The unique design of shiplap, characterized by its overlapping joints and distinctive grooves, brings texture and depth to the space, making the closet doors not just functional storage solutions but also an integral part of the room's decor.
This style is particularly popular in homes aiming for a farmhouse chic, coastal, or cottage ambiance, where the warmth and natural elements of shiplap can create a welcoming and serene atmosphere. Incorporating shiplap closet doors into a bedroom not only adds visual interest but also offers the versatility to complement a wide range of interior designs, from modern minimalist to more traditional schemes.
The linear patterns of the shiplap can make a space feel larger and more open, while the choice of paint or stain can either brighten the room or give it a more subdued, intimate feel. Furthermore, the texture of shiplap provides a tactile quality that enhances the sensory experience of the space. With the ability to customize the look through different finishes and hardware, shiplap closet doors can be tailored to reflect personal style and bring a custom, high-quality feel to bedroom interiors.
9. Shiplap Window Trim
Enhancing your bedroom windows with shiplap trim adds a touch of charm and sophistication to the space. Begin by measuring the dimensions of the windows and selecting shiplap boards suitable for trim. Cut the shiplap boards to size for the window frames, ensuring they fit snugly around the edges. Install the shiplap trim around the windows using nails or screws, making sure they are securely attached to the wall.
Consider adding decorative trim or molding for added visual interest. Once the installation is complete, fill any gaps with wood filler, sand the surface smooth, and finish with paint or stain to complement your bedroom decor. Shiplap window trim adds architectural detail and texture to your bedroom, framing the windows beautifully and enhancing the overall aesthetic of the space.
10. Shiplap Paneling Behind the Bed
Installing shiplap paneling behind your bed creates a stunning focal point that anchors the entire bedroom. Begin by measuring the width and height of the area behind the bed and selecting shiplap boards that fit the dimensions. Install the shiplap boards horizontally or vertically, depending on your preference and the layout of your bedroom. Ensure the boards are evenly spaced and aligned, using a level to maintain straight lines.
Consider incorporating a contrasting color or finish for added visual interest. Once the installation is complete, fill any gaps with wood filler, sand the surface smooth, and finish with paint or stain to enhance the overall aesthetic. Shiplap paneling behind the bed adds texture, warmth, and character to your bedroom decor, creating a cozy and inviting atmosphere for rest and relaxation.
