10 DIY Outdoor Table Plans to Build Your Dream Patio Furniture
Find the best DIY outdoor table plans to craft your ideal backyard furniture. We have updated the DIY outdoor table plans to build stylish and durable tables easily, Transform your outdoor space with custom-made tables today.
by Sangeetha M
Updated Jun 24, 2024
On This Page
- DIY Outdoor Table Plans
- 1. Rustic Wooden Picnic Table
- 2. Tree Trunk Slice Side Table
- 3. Tile Mosaic Patio Table
- 4. Cedar Adirondack Side Table
- 5. Concrete Fire Pit Table
- 6. Pallet Patio Table
- 7. Folding Bistro Table
- 8. Stone Top Outdoor Dining Table
- 9. Hanging Balcony Table
- 10. Folding Deck Dining Table with Umbrella Hole
DIY Outdoor Table Plans
Transforming your outdoor living area into a welcoming and functional space is a rewarding endeavor, and what better way to do so than with DIY outdoor table plans? Whether you're looking to dine al fresco, entertain guests, or simply enjoy a quiet moment in nature, these nine DIY projects offer a diverse range of styles and functionalities to suit any outdoor space.
From rustic farmhouse tables to sleek modern designs, each plan is customizable to match your preferences and skill level, allowing you to create a personalized centerpiece that elevates the aesthetic appeal and functionality of your home's outdoor oasis. With step-by-step instructions and materials readily available at your local hardware store, these DIY outdoor table plans empower you to unleash your creativity and craftsmanship while adding value and charm to your property.
Embrace the joy of building something with your own hands and embark on a journey to transform your outdoor space into a haven of relaxation, entertainment, and natural beauty with these inspiring DIY projects.
1. Rustic Wooden Picnic Table
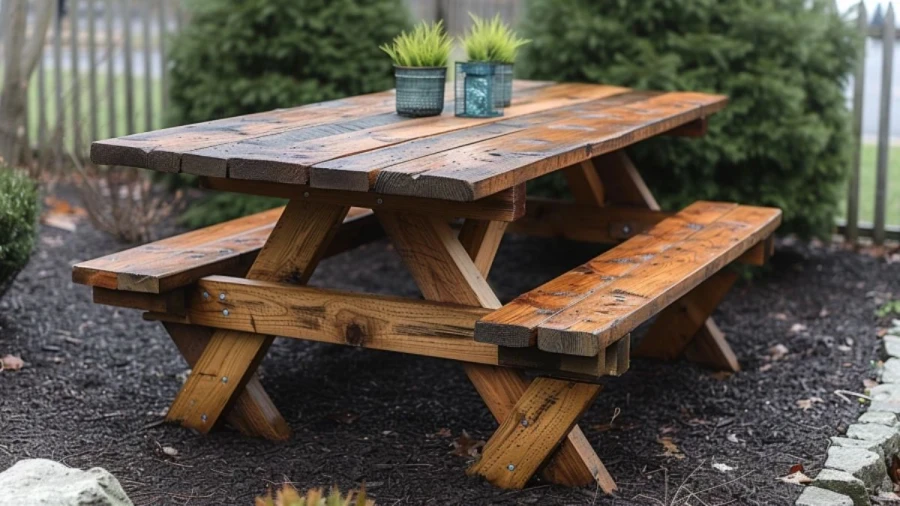
Construct a classic picnic table using sturdy wood planks such as cedar or pressure-treated lumber. Begin by cutting the boards to the desired length for the tabletop and benches, ensuring they are all uniform in size for a cohesive look. Assemble the frame using galvanized screws or bolts for durability, and add diagonal braces for extra stability. Sand down any rough edges and corners, then apply a weather-resistant finish such as outdoor wood stain or polyurethane to protect the wood from moisture and UV damage.
Complete the look with matching benches and enjoy outdoor meals with family and friends in a charming rustic setting. Enhance the aesthetic appeal of your picnic table by incorporating decorative elements such as carved details, routed edges, or a built-in umbrella hole for shade on sunny days. Personalize the design further by choosing a stain or paint color that complements your outdoor decor scheme.
Consider adding matching chair cushions or seat pads for extra comfort during long gatherings. With proper care and maintenance, your DIY picnic table will serve as a focal point in your outdoor space for years to come, creating lasting memories of leisurely meals and gatherings under the open sky.
2. Tree Trunk Slice Side Table
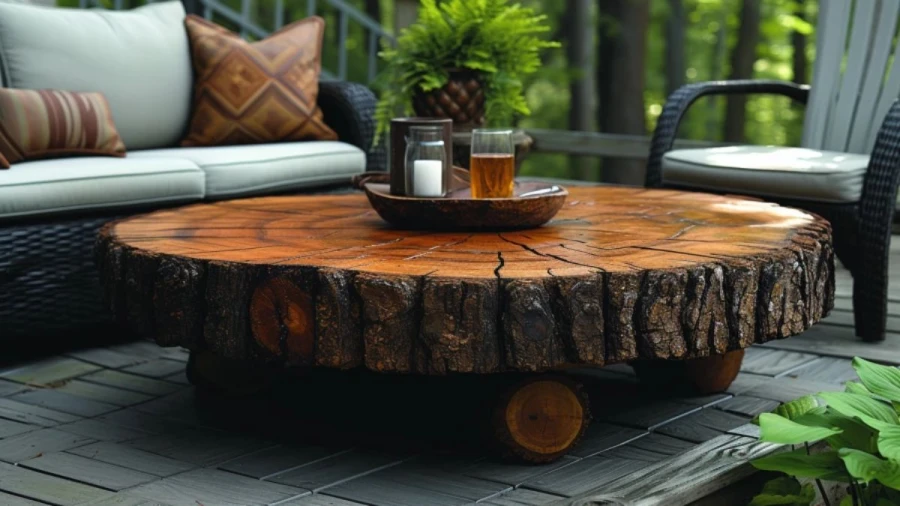
Create a unique and rustic side table using slices of tree trunks or logs, adding a touch of natural beauty to your outdoor space. Begin by selecting tree trunks or logs with flat, even surfaces and cutting them into slices of uniform thickness. Sand down the rough edges and surfaces to create a smooth tabletop. Attach legs to the underside of the tree trunk slice using wood glue and screws, ensuring they are evenly spaced and securely attached.
Finish the tabletop with a weatherproof sealant or varnish to protect it from the elements and enhance its natural beauty. Your DIY tree trunk slice side table will add a charming and organic element to your outdoor seating area, providing a stylish surface for drinks, snacks, or decorative accents.
3. Tile Mosaic Patio Table
Craft a visually stunning mosaic tabletop that adds a pop of color and personality to your outdoor space. Begin by selecting a durable base material such as marine-grade plywood or cement board to support the weight of the tiles. Sketch out a design for your mosaic, considering color combinations and patterns that complement your patio decor. Arrange the tiles on the base in your desired pattern, leaving space between each tile for grout.
Secure the tiles in place with adhesive, ensuring they are evenly spaced and aligned. Once the adhesive has dried, fill the gaps between the tiles with grout, using a rubber float to press it firmly into place. Wipe away excess grout with a damp sponge, taking care not to disturb the tiles. Allow the grout to cure completely before sealing the surface with a waterproof sealant to protect against moisture and stains.
4. Cedar Adirondack Side Table
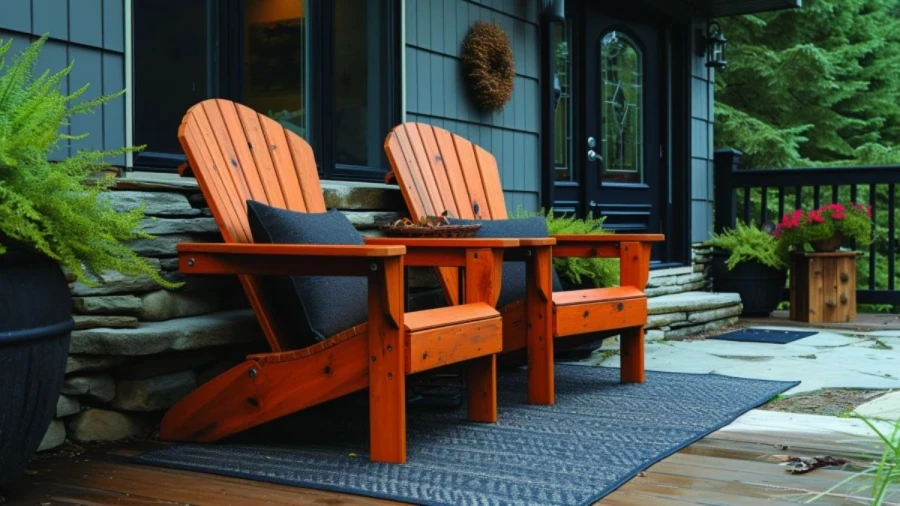
Build a charming side table to accompany your Adirondack chairs, providing a convenient surface for drinks, snacks, and outdoor essentials. Choose high-quality cedar wood for its natural beauty and resistance to decay, ensuring your table withstands the elements for years to come. Begin by cutting the wood to size according to your desired dimensions, then assemble the frame using pocket screws or wood glue for a sturdy construction.
Add finishing touches such as rounded edges and a smooth surface for a comfortable and functional tabletop. Consider incorporating a lower shelf or storage compartment to keep outdoor accessories neatly organized. Apply a protective finish such as exterior-grade sealant or spar urethane to enhance the wood's natural beauty and protect it from moisture and UV damage.
5. Concrete Fire Pit Table
Combine functionality and ambiance by constructing a concrete table with a built-in fire pit, creating a cozy gathering spot for outdoor entertaining. Begin by building a sturdy frame using wood or metal to support the weight of the concrete tabletop and fire pit. Pour concrete into the frame, smoothing it out to create a flat surface for the tabletop and a recessed area for the fire pit.
Use a trowel to create decorative patterns or textures in the concrete before it sets. Once the concrete has cured, install a fire pit insert in the designated area, ensuring it is securely anchored to the tabletop. Add fireproof materials such as lava rocks or fire glass to the pit for a stylish and functional finishing touch. Seal the concrete tabletop with a waterproof sealant to protect it from the elements and enhance its durability. Your DIY concrete fire pit table will become a focal point in your outdoor space, providing warmth, illumination, and a stylish surface for outdoor dining and entertaining.
6. Pallet Patio Table
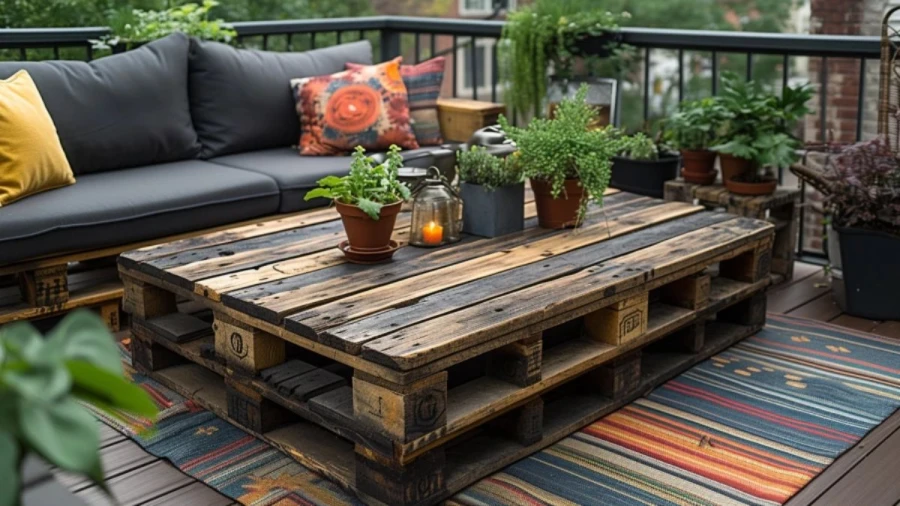
Upcycle wooden pallets into a rustic-chic patio table with a distressed finish, adding character and charm to your outdoor space. Begin by disassembling the pallets and selecting the best-quality boards for the tabletop and legs. Cut the boards to size and assemble them into a tabletop using wood glue and screws for a sturdy construction. Sand down any rough edges and corners to create a smooth surface for dining and entertaining.
Assemble the pallet boards into a frame for the legs, ensuring they are securely attached to the tabletop for stability. Add additional cross-bracing or supports as needed to reinforce the structure. Apply a weatherproof stain or paint to the table to protect it from the elements and enhance its appearance. Your DIY pallet patio table will add a touch of rustic elegance to your outdoor space, providing a stylish and functional surface for meals, drinks, and relaxation.
7. Folding Bistro Table
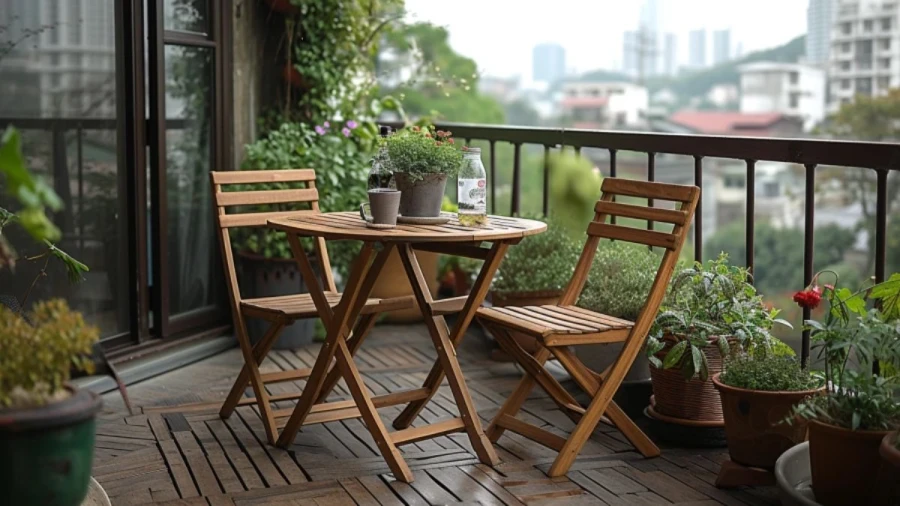
Design a space-saving bistro table that folds flat for easy storage when not in use, making it ideal for small outdoor spaces such as balconies or patios. Begin by selecting lightweight yet sturdy materials such as aluminum or treated wood for the tabletop and frame. Cut the materials to size according to your desired dimensions, ensuring the tabletop is large enough to accommodate dining or drinks while the frame is sturdy enough to support it.
Install hinges or folding mechanisms along the tabletop and frame to allow for easy folding and unfolding. Ensure that the hinges are securely attached and that the table locks into place when unfolded for safety. Sand down any rough edges and apply a weather-resistant finish to protect the table from moisture and UV damage. Your DIY folding bistro table will provide a convenient and stylish solution for outdoor dining and entertaining in small spaces, allowing you to maximize your outdoor living area without sacrificing functionality or style.
8. Stone Top Outdoor Dining Table
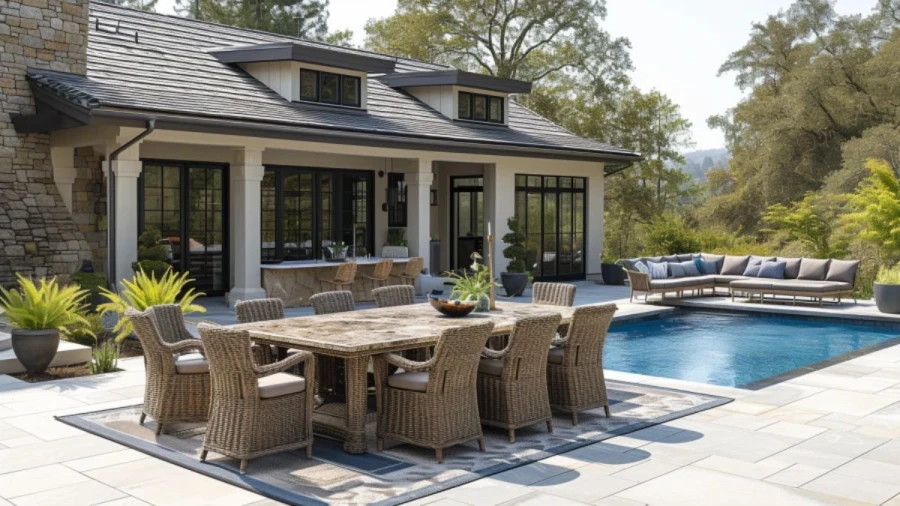
Construct a durable outdoor dining table with a natural stone top, such as granite or marble, for a touch of elegance and sophistication. Begin by building a sturdy frame using materials such as steel or aluminum to support the weight of the stone top. Choose a stone slab that is thick enough to withstand outdoor conditions and heavy use while complementing your outdoor decor.
Install the stone slab onto the frame using adhesive or brackets, ensuring it is securely attached and level. Seal the stone surface with a weatherproof sealant to protect it from stains, moisture, and UV damage. Add finishing touches such as decorative trim or metal accents to enhance the table's appearance. Your DIY stone top outdoor dining table will become a focal point in your outdoor space, providing a stylish and durable surface for dining and entertaining for years to come.
9. Hanging Balcony Table
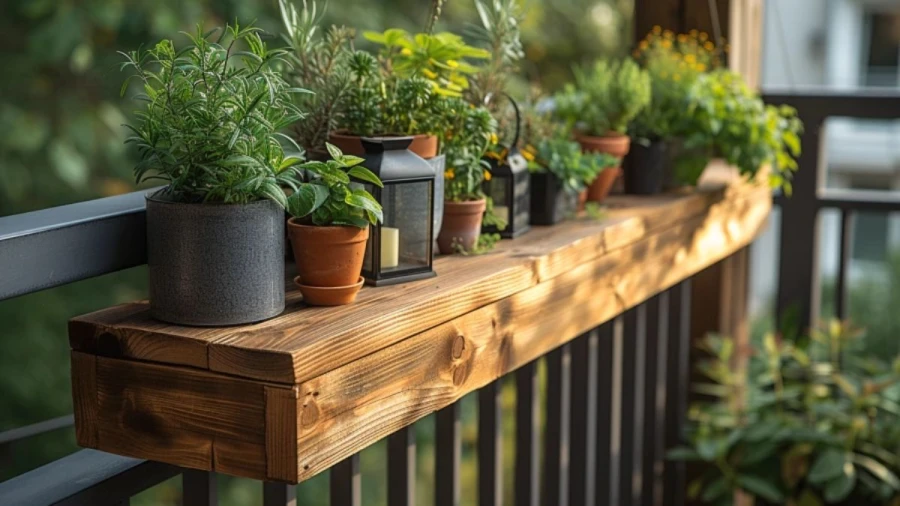
Maximize space on your balcony or deck with a hanging table that attaches to the railing, providing a convenient surface for drinks, snacks, or small plants. Begin by selecting lightweight yet sturdy materials such as wood or metal for the tabletop and support brackets. Measure the width of your balcony railing and cut the tabletop to fit, ensuring it is large enough to accommodate your needs while remaining stable when attached to the railing.
Install the support brackets onto the underside of the tabletop, ensuring they are evenly spaced and securely attached. Attach hooks or brackets to the balcony railing, allowing the table to hang securely without obstructing the walkway. Test the stability of the table and make any necessary adjustments to ensure it is level and secure. Finish the tabletop with a weather-resistant sealant or paint to protect it from the elements.
Your DIY hanging balcony table will provide a practical and stylish solution for maximizing outdoor space in small urban settings, allowing you to enjoy al fresco dining and relaxation without taking up valuable floor space. Personalize the table with decorative elements such as potted plants or hanging lanterns to enhance its visual appeal and create a cozy atmosphere on your balcony or deck.
10. Folding Deck Dining Table with Umbrella Hole
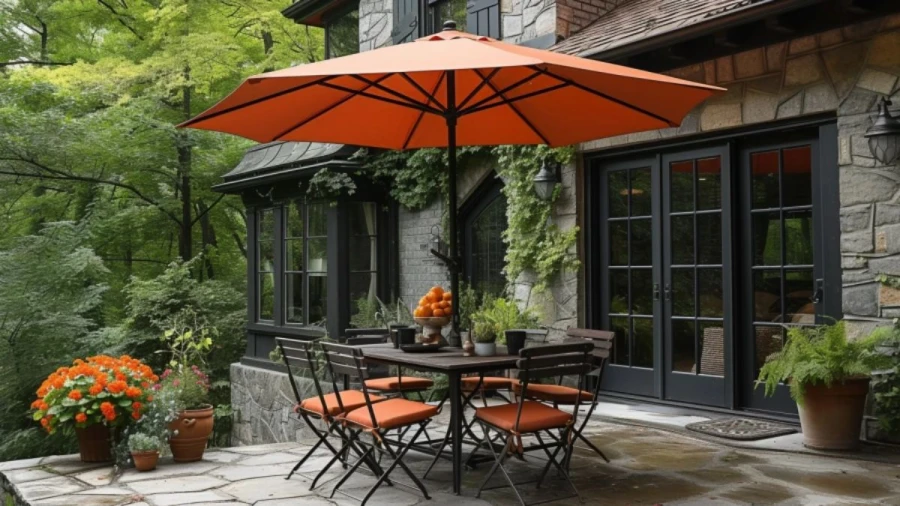
Design a practical and space-saving dining table for your deck or patio that folds down when not in use, featuring a convenient umbrella hole for shade on sunny days. Begin by constructing a sturdy frame using treated lumber or metal materials, ensuring it is designed to fold easily and securely. Install hinges or folding mechanisms at strategic points along the tabletop and frame to allow for smooth folding and unfolding.
Ensure the table locks into place when unfolded for stability during use. Drill a hole in the center of the tabletop for an umbrella, providing shade and protection from the sun's rays. Finish the table with a weather-resistant sealant or paint to protect it from the elements and enhance its longevity. Your DIY folding deck dining table with an umbrella hole will provide a versatile and functional surface for outdoor dining and entertaining, maximizing space and comfort in your outdoor living area.
