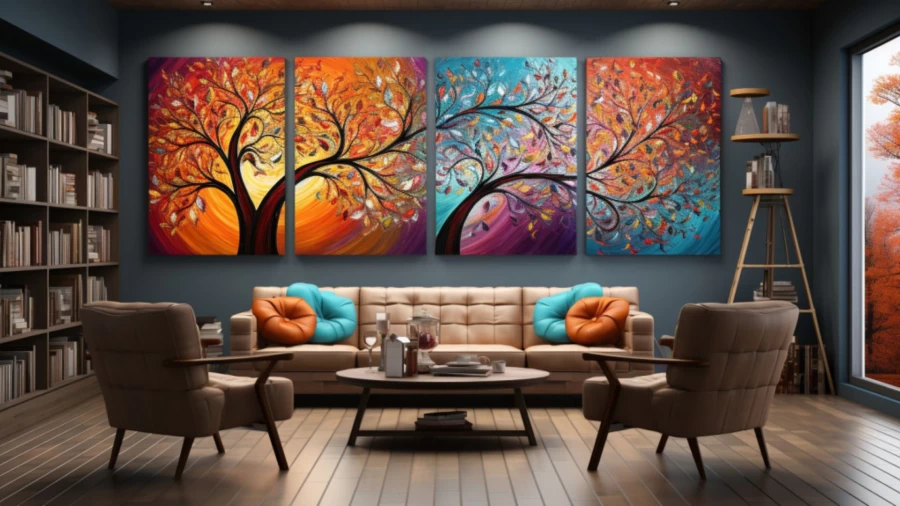
Transform Your Walls with These 9 Simple DIY Canvas Art Projects for Added Personality
Explore 9 captivating DIY canvas art projects to revamp your living space, from abstract designs to floral art, and effortlessly infuse your home with personality and style. Discover creative ways to transform your walls in this article.
by Abinaya
Updated Oct 09, 2023
On This Page
Are your walls in need of a makeover? Adding a personal touch to your living space can be as easy as picking up a paintbrush and creating your own canvas art. In this article, we'll explore 9 straightforward DIY canvas art projects that are not only fun to create but also an excellent way to infuse your living space with personality and style. Whether you're an experienced artist or a novice looking to embark on your creative journey, these projects are designed to inspire and help you transform your walls into unique and eye-catching focal points.
From abstract designs to inspirational quotes and nature-inspired pieces, these DIY canvas art ideas offer a wide range of options to suit your taste and décor. So, roll up your sleeves, gather your supplies, and get ready to embark on an artistic adventure that will not only breathe new life into your walls but also reflect your individuality and creativity.
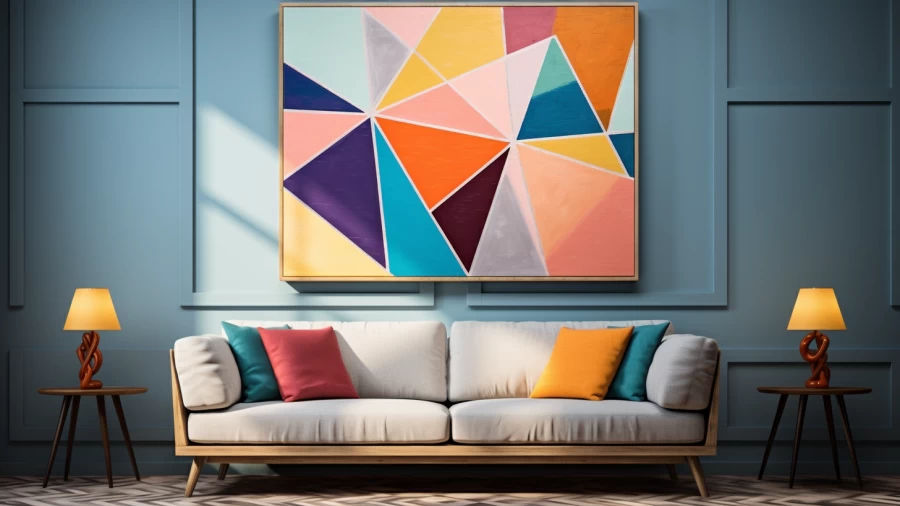
1. Abstract Geometric Shapes
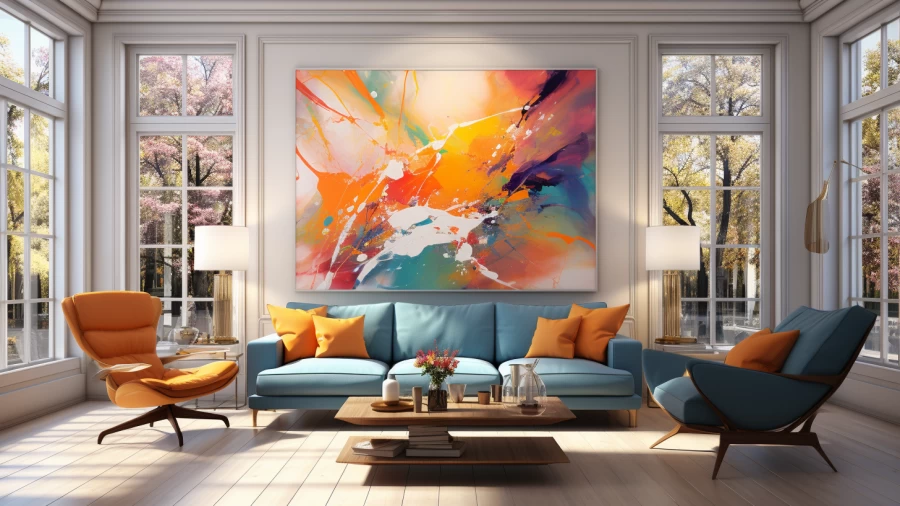
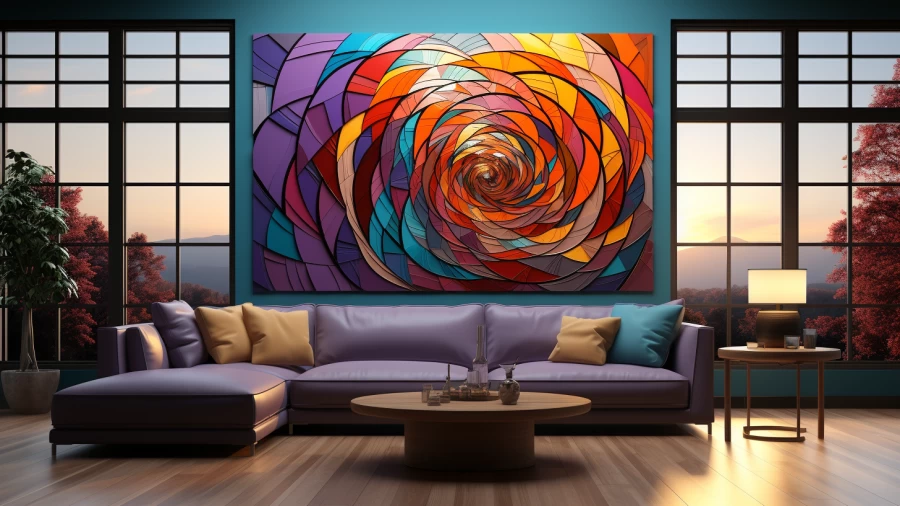
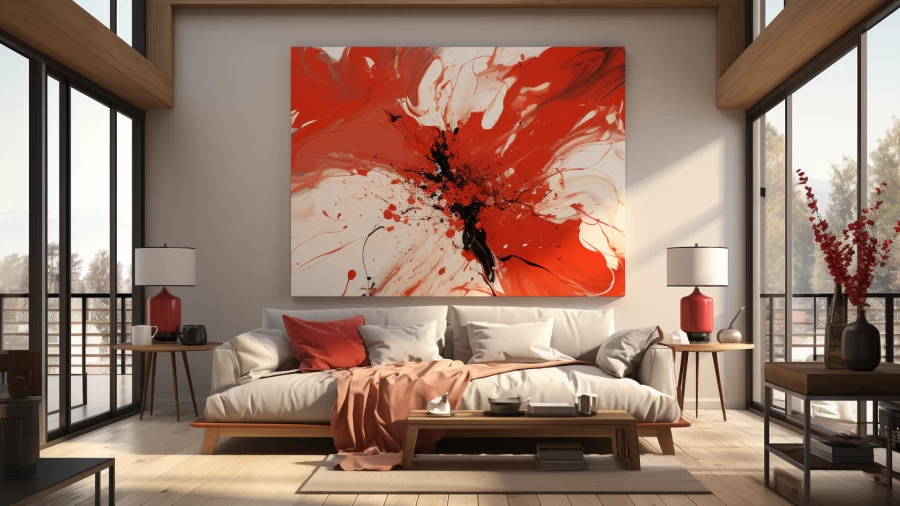
Abstract geometric shapes are a versatile choice for DIY canvas art. You can experiment with different color palettes, sizes, and patterns to create a collection of visually engaging pieces. Consider using complementary or contrasting colors to make your shapes pop. These abstract artworks can add a modern and dynamic flair to your walls, and you can arrange them in various ways to suit your space.
To take this idea a step further, you can use painter's tape to create sharp and precise lines. Mixing metallic or iridescent paints with traditional acrylics can also introduce an element of shimmer and depth to your geometric compositions.
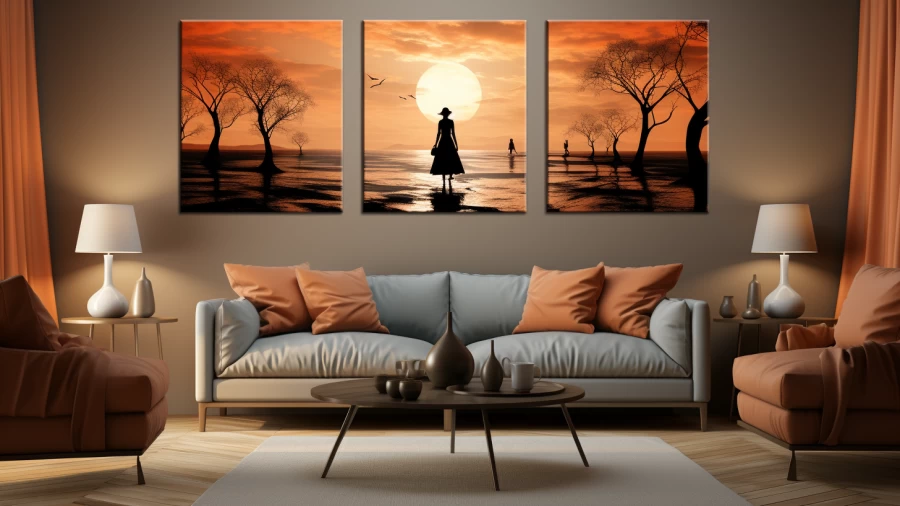
2. Nature-Inspired Silhouettes
Nature-inspired silhouettes offer a serene and earthy touch to your DIY canvas art. Choosing silhouettes of trees, birds, or animals can evoke a sense of calm and connection to the natural world. To enhance the effect, try using a neutral or nature-inspired color palette, such as earthy colors like green or brown. You can also experiment with different canvas sizes to create a visually pleasing arrangement on your wall.
To make these silhouettes stand out, consider using contrasting backgrounds, like a deep orange sky behind a tree silhouette like a sunset-inspired gradient for a bird silhouette. You can also add subtle texture to your canvases by using techniques like sponge painting or layering multiple shades of a single color for a more realistic look.
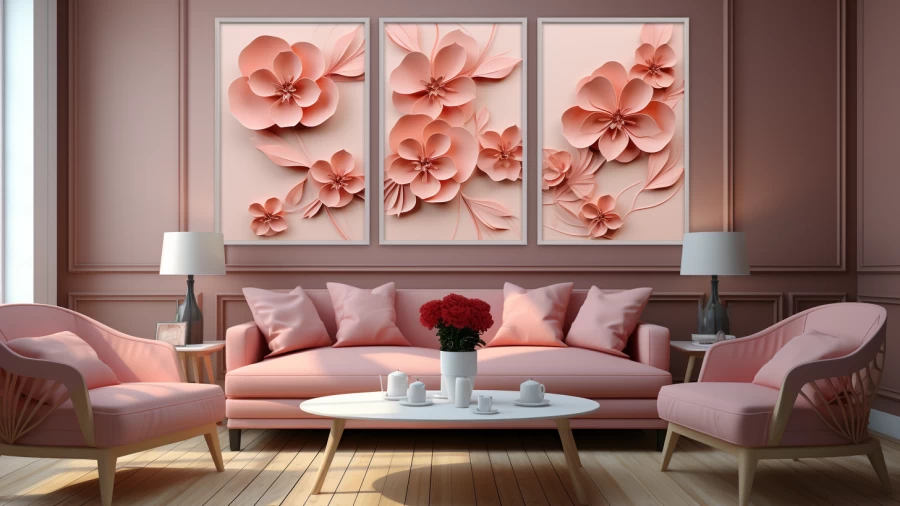
3. 3D Flower Wall Art
3D Flower Wall Art is a delightful and tactile way to infuse your living space with natural beauty and creativity. This DIY project allows you to transform a simple canvas into a captivating garden of your own design. To get started, gather materials like fabric, felt, or colored paper in a variety of colors and patterns. These will serve as the petals and leaves for your blossoms.
With scissors, cut out petals, leaves, and any other elements you'd like to include in your floral arrangements. You can opt for realistic and meticulously detailed flowers or embrace abstraction by crafting whimsical, oversized blooms. The freedom to choose different materials and styles opens up endless possibilities for personal expression. Once you've cut your flower components, it's time to assemble your 3D floral masterpiece.
Arrange the petals, and other elements into flower shapes, making sure to layer them to create dimension. Secure them to the canvas with glue or double-sided tape, starting with the larger flowers at the base and gradually adding smaller ones toward the top. You can even add delicate details like stamens, pistils, or tiny beads to mimic the intricate beauty of real flowers.
The result is a stunning and textural piece of wall art that not only adds visual interest but also a touchable, tactile element to your decor, inviting viewers to engage with the art on a sensory level. Whether you choose to replicate the beauty of nature or let your imagination run wild with abstract creations, 3D Flower Wall Art offers a charming and personalized addition to your home.
4. Watercolor Washes
Watercolor washes provide a soft and ethereal quality to your DIY canvas art. Begin by selecting a color palette that suits your space and mood, then apply the watercolor paints in washes or layers for a dreamy effect. You can create abstract landscapes, and subtle gradients, or even use watercolor as a backdrop for other elements like simple line drawings or inspirational quotes.
To add depth and dimension, consider experimenting with different watercolor techniques, such as wet-on-wet blending or salt textures. You can also incorporate masking tape to create crisp edges or use wax resist for a unique patterned look. The versatility of watercolors allows you to explore your creativity and adapt the style to match your home decor seamlessly.
5. Mosaic Canvas
Crafting a mosaic-style canvas allows you to incorporate a variety of materials and textures into your wall art. Collect small pieces of colored paper, or tiles, or even repurpose broken dishes to create your mosaic. Begin by sketching your design on the canvas and then adhere the pieces with strong glue, leaving small gaps between them for grout.
To add a personalized touch to your mosaic canvases, consider using materials with sentimental value or incorporating specific patterns that resonate with your style. Once your mosaic is complete, apply grout between the pieces and use a damp sponge to clean the surface. The result is a stunning and textured piece of art that can add depth and visual interest to your walls, making it a true conversation starter in your home.
6. Mixed Media Collage
Mixed media collage allows you to blend various materials and textures into your canvas art for a tactile and visually stimulating experience. Incorporate elements like fabric swatches, buttons, beads, or torn paper into your artwork. Start with a base layer of acrylic paint on the canvas, and then arrange and adhere the mixed media elements as desired.
To ensure cohesiveness in your collage, stick to a specific color palette or theme, like vintage, industrial, or bohemian. The layered textures and materials can create depth and intrigue in your artwork, making it a conversation piece in your home. Experiment with different adhesives to secure your materials effectively, and finish your collage with a clear sealer to protect and preserve your unique creation.
7. Ombre Effect
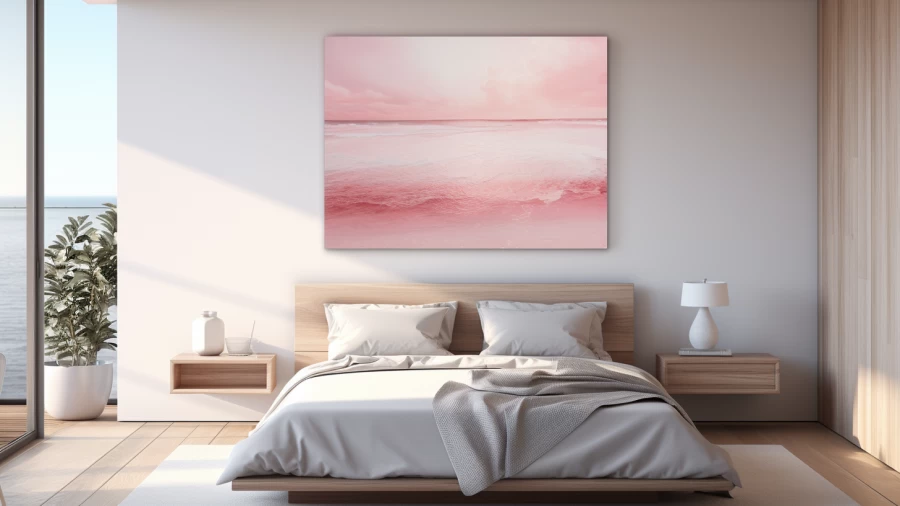
The ombre effect, with its graceful gradient of colors, offers a serene and visually striking option for canvas art. You can choose a single canvas or create a series with different ombre color schemes. To achieve this effect, start with your lightest color at the top or one side of the canvas and gradually transition to a darker shade towards the bottom or opposite side.
To make your ombre canvases even more captivating, experiment with various color combinations, such as soothing blues, warm sunset hues, or trendy pastels. You can also blend acrylic paints with a blending medium to achieve seamless transitions between colors. Whether you opt for a single, bold ombre canvas or a set of complementary pieces, this technique can infuse your space with a sense of tranquility and sophistication.
8. Floral Art
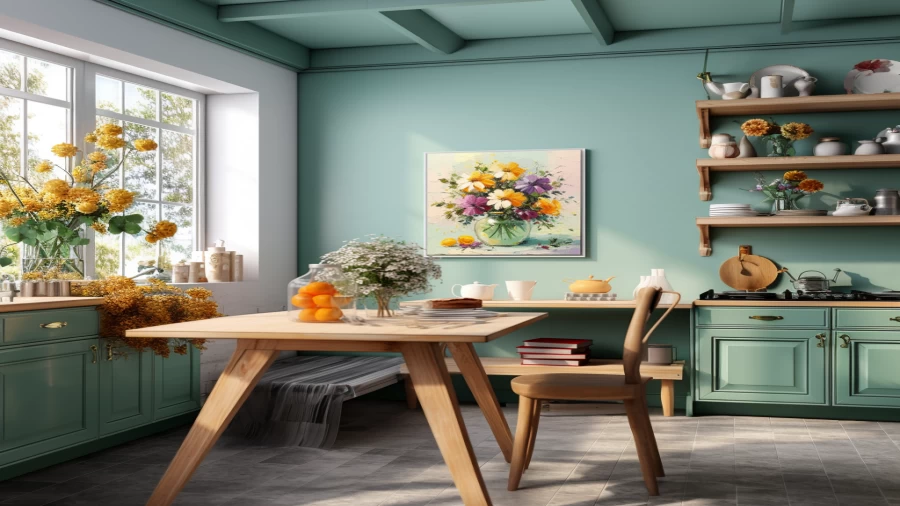
Floral art on canvas brings the beauty of nature indoors with a burst of color and elegance. Start by selecting your favorite flowers or plants as your inspiration. You can choose to paint realistic representations or go for a more abstract and impressionistic style. Consider adding intricate details to the petals and leaves or keep it minimalistic with bold, graphic shapes.
To make your floral canvases stand out, experiment with different backgrounds, such as soft pastels, dramatic dark hues, or even metallic accents. Grouping floral canvases of varying sizes and styles can create a captivating focal point in your space. Don't be afraid to mix and match flower types and color palettes to create a harmonious and visually pleasing arrangement.
9. Ink Blot Art
To take your ink blot art to the next level, consider using a variety of colors and intensities of ink or watercolors. Experiment with different paper folding techniques, such as multiple folds or asymmetric folding, to create a wide range of intriguing and unpredictable shapes.
Once your ink blots have dried, you can further enhance your designs by adding fine details with markers, acrylic paints, or colored pencils. These extra touches can transform the initial blots into vibrant and intricate artworks that invite viewers to explore the depths of their imagination.
Inkblot art can also have therapeutic benefits beyond its aesthetic appeal. The process of creating symmetrical designs from random blots can be a calming and meditative experience, making it an excellent outlet for stress relief and self-expression. Whether you frame and hang your ink blot creations as unique wall art or use them as a creative way to unwind, this technique offers a captivating and introspective journey into the world of abstract art
Transform Your Walls with These 9 Simple DIY Canvas Art Projects for Added Personality - FAQ
1. What are some easy DIY canvas art projects?
You can try abstract geometric shapes, nature-inspired silhouettes, 3D flower wall art, watercolor washes, and ink blot art.
2. What materials are needed for 3D flower wall art?
You'll need fabric, felt, or colored paper for petals and leaves, scissors, glue, and a canvas.
3. How do you create an ombre effect on canvas art?
Start with the lightest color at the top or one side of the canvas and gradually transition to a darker shade towards the bottom or opposite side.
4. What is mixed media collage in canvas art?
It's a technique that blends various materials like fabric, buttons, beads, or torn paper onto a canvas with acrylic paint as a base layer.
5. How can I make a mosaic-style canvas art?
Sketch your design on the canvas, adhere small pieces of colored paper, tiles, or repurposed materials with glue, leave gaps for grout, and apply grout between the pieces for a textured finish.
